Before you begin
Make sure your web hosting environment has meet the minimum system requirements.
If you are upgrading JomSocial, please refer to this documentation.
Installing the component
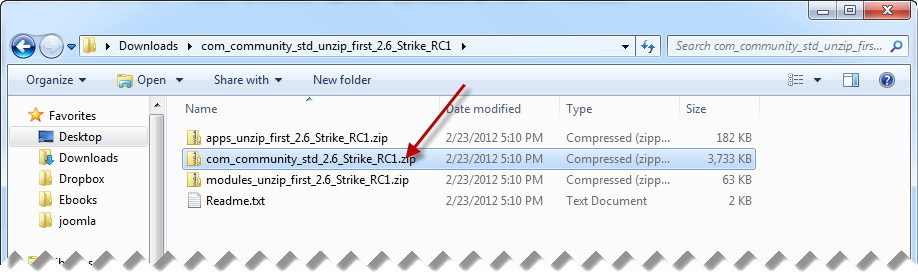
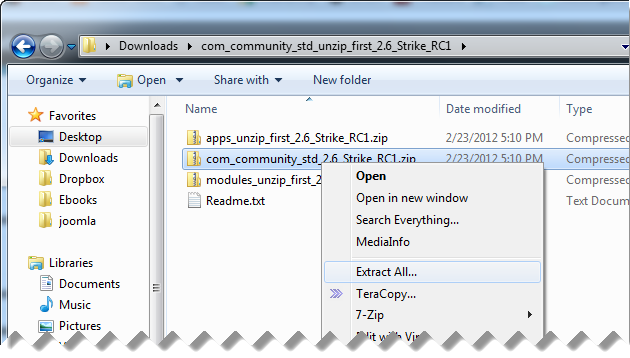
Installing JomSocial is really straightforward. After downloading the file, make sure you extract it first.

You will be using 'com_community_[version].zip' for the installation
Let's get started:
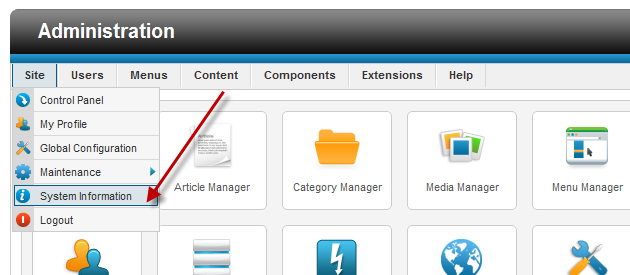
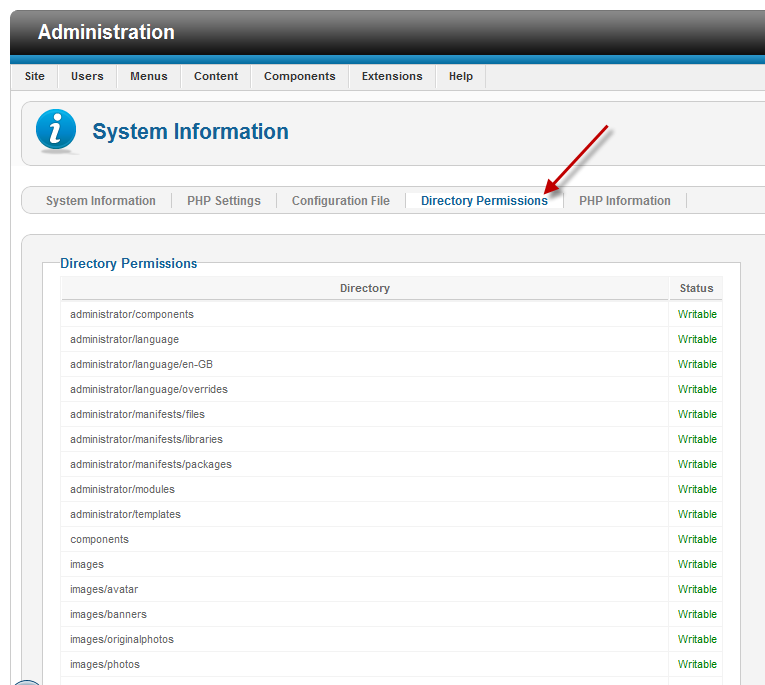
1. Login to your Joomla administration area and go to Site > System Information > Directory Permission. Make sure all directories listed are writable.
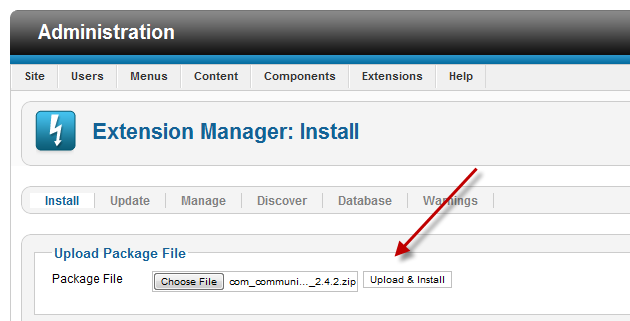
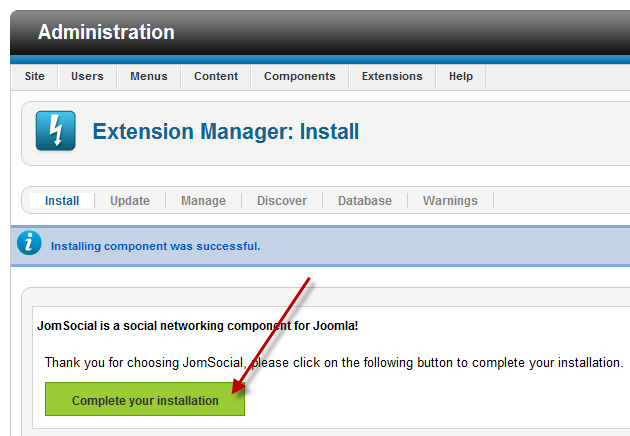
2. Go to Extensions > Extension Manager. At Upload Package File, browse for the 'com_community_[version].zip' file and choose it. Then, click on "Complete your installation" to begin.

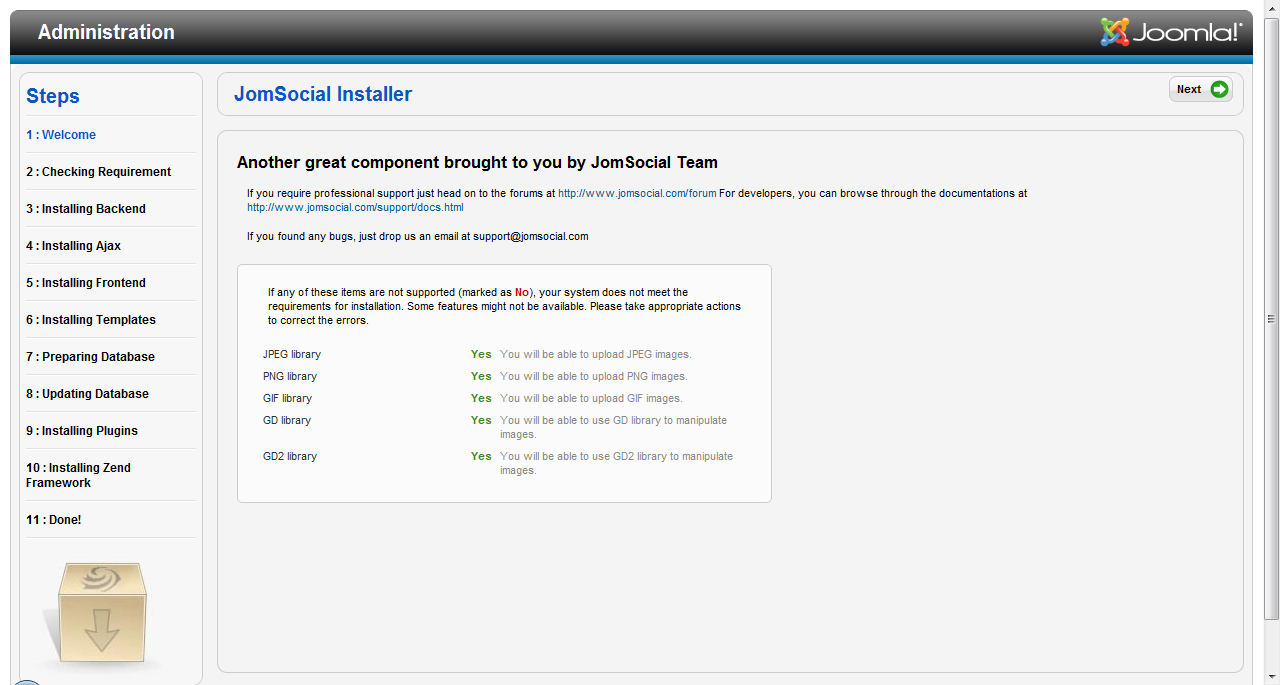
3. The JomSocial Installer screen appears. Make sure all the requirements are checked as 'Yes'. Click on 'Next' and wait until the installation finishes.
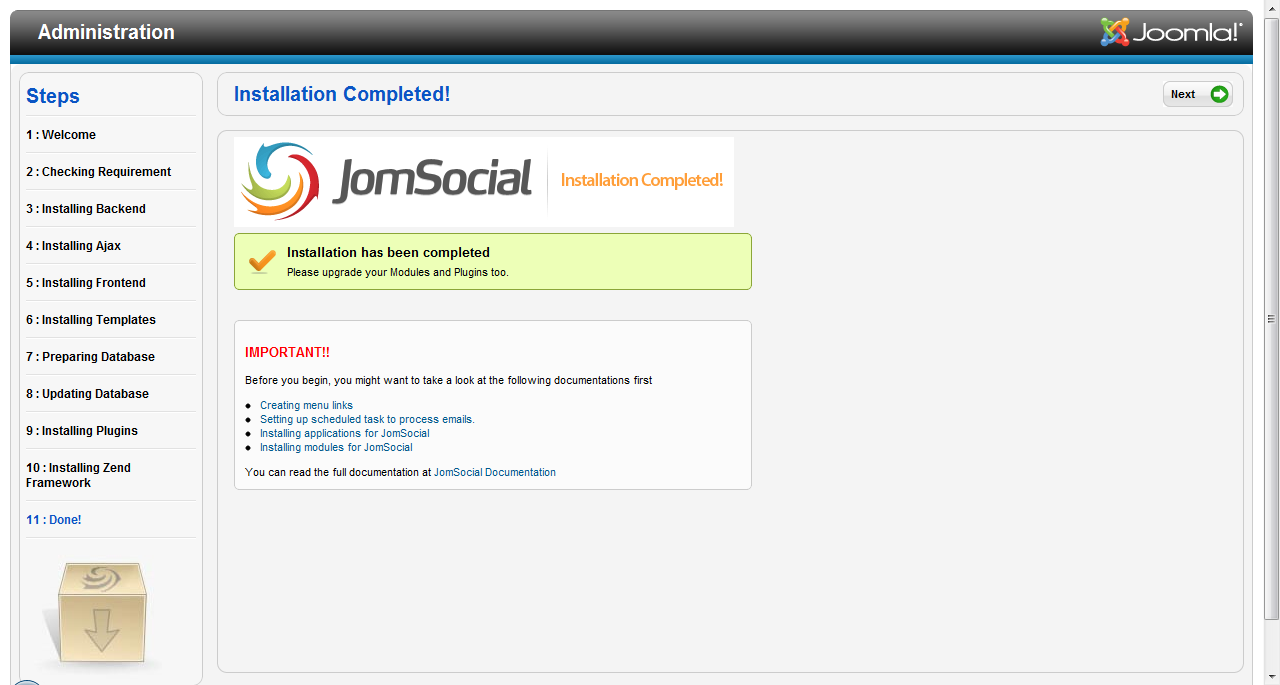
4. You will be greeted with the Installation Completed screen. Congratulations!
Alternative installation method
You can also install JomSocial by manually uploading all the files to your web host via FTP. Follow the steps below:
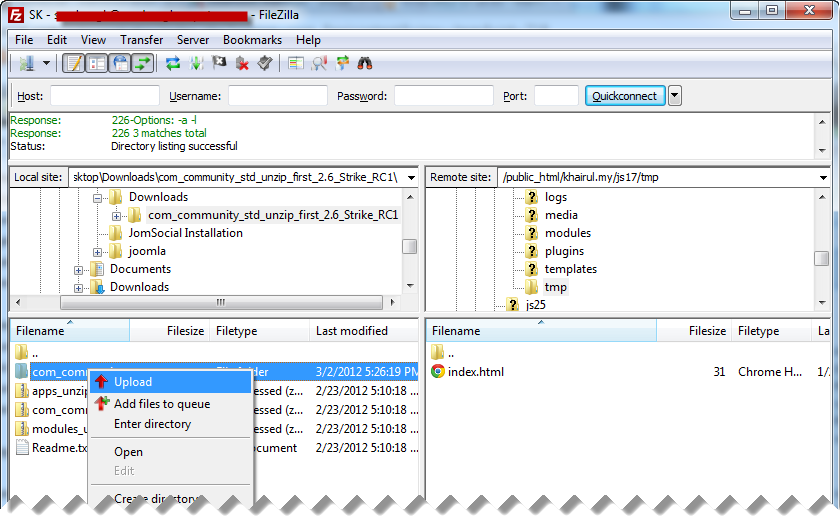
1. Extract the 'com_community_[version].zip' file.
2. Upload the extracted folder to your joomla/tmp directory using your FTP client.
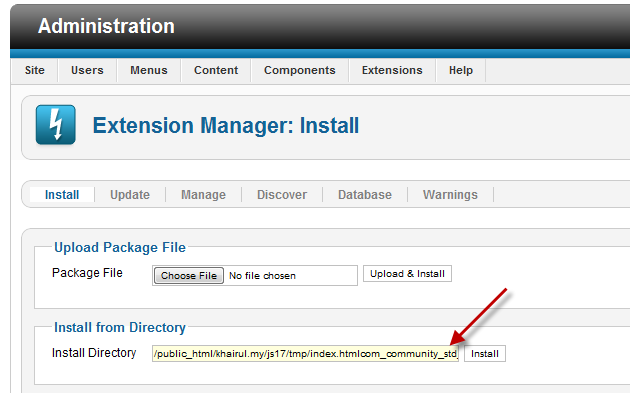
3. Go to Extensions > Extension Manager. At the "Install from Directory" section, point to the folder that you have uploaded just now. Then click on Install.
What's next?
Go to your Joomla front page, and you will notice a new menu item called "JomSocial". Users are now able to register, add friends and share photos in your community!